 ClearDBS
 Provide and review identity documents
Capture readable evidence, understand document outcomes and respond to a targeted retake.
Start interactive tutorial →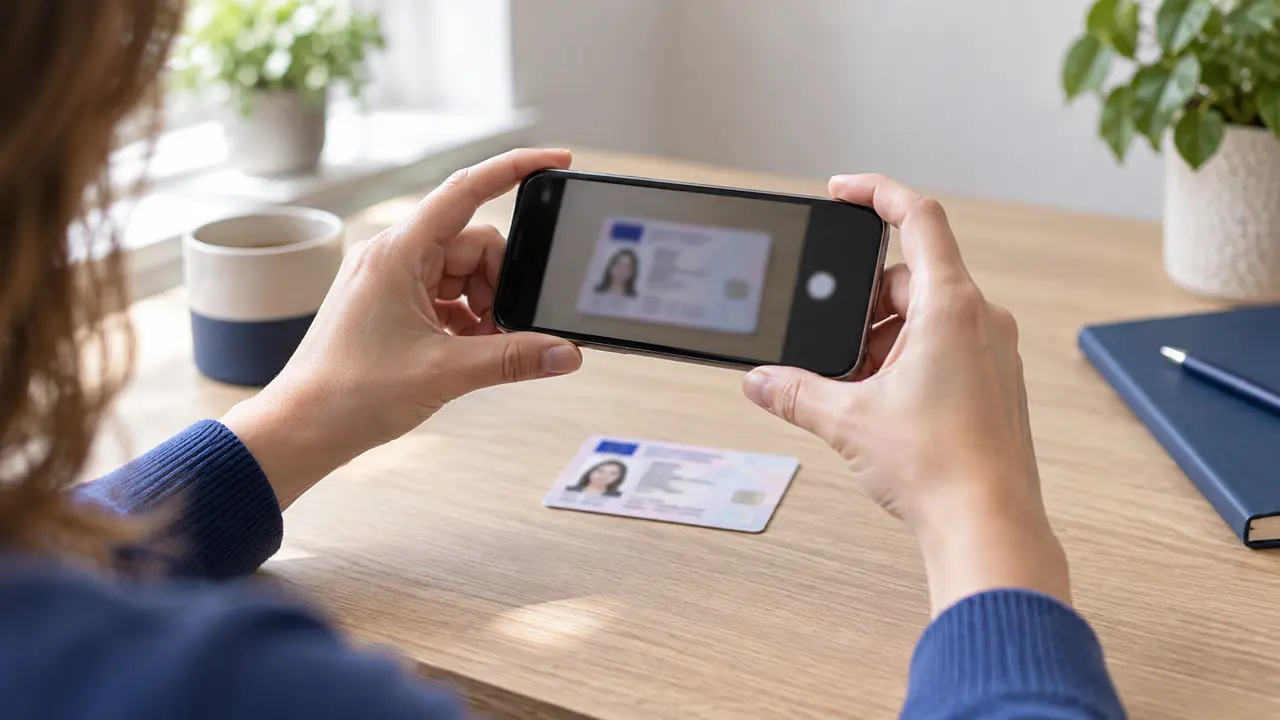
Use the dedicated evidence step #
Identity documents belong in the check’s secure document workflow. Do not upload them to AI chat or paste document numbers into a support conversation. In the public demo, use only the supplied synthetic evidence or safe fictional examples.
Read the document types and sides requested by the current screen. A generic tutorial cannot override the evidence requirements shown for your particular check.
Ask AI about this sectionCapture a readable document #
- Choose the requested document type.
- Use a well-lit area and avoid glare across important text or the portrait.
- Keep the full document inside the frame and make sure it is in focus.
- Capture every required side or page.
- Review the preview before uploading or continuing.
- Wait for the stage to acknowledge the upload.
Do not crop out edges or edit information to improve a result. If the preview is unreadable, use the supported retake control and capture again.
Ask AI about this sectionUnderstand the document outcome #
A successful upload means the file arrived. Analysis, review and acceptance are separate steps. A document outcome can include readability issues, data inconsistencies or a request for another capture. Read the explanation associated with that document rather than assuming a status colour is final approval.
Organisation users may see shared document outcomes according to their permissions. That view is different from the applicant’s capture screen. Supporting analysis does not replace authorised human review.
Ask AI about this sectionRespond to a retake request #
Open the named document, read the reason and replace only what the workflow asks you to replace. Confirm the new preview and submission. If the document type or applicant details are wrong, use the correction route instead of repeatedly taking the same image.
Ask AI about this sectionIf camera or upload fails #
Check browser permission for the camera and use the supported upload option where offered. Reopen the current stage after a connection failure to see whether the file was saved. Do not move real evidence to an unrelated messaging service as a workaround.
Ask AI about this sectionDetailed walkthrough #
1. Check which evidence is recorded
Read the document labels and outcomes before deciding another file is needed. A document appearing in the list means evidence is recorded, not that every identity requirement has been met. This walkthrough uses sample documents and requires no upload.
2. Respond to an evidence issue
If a document has an issue, read the recorded reason and next action for that document. Follow the requested correction rather than repeatedly submitting the same file. Ask for help with the check reference if the instruction is unclear; do not include identity images in a support message.
3. Compare evidence with the summary
Use the Application summary to check that the evidence position matches what you just read. If another stage is incomplete, finishing the documents stage alone will not complete the application. Keep document review separate from the final DBS outcome.
Ask AI about this sectionPractise this section #
Open Help & tutorials, select this guide and choose Start practice walkthrough. Read each highlighted component before continuing. Use Back to revisit an explanation and Retry if a sample has not loaded. The walkthrough uses fictional records; do not enter real applicant information.
Use Exit tutorial to leave and keep your place, then Resume walkthrough in this guide to continue. When returning from practice to a real workspace, review the actual record and your permissions before making a change. Tutorial completion does not perform the underlying task.
Ask AI about this sectionBefore using this guide #
Open Identity documents on the intended check. Read the current evidence and requested next action before deciding whether an additional document is needed.
Ask AI about this sectionWorked example #
If a document requests a clearer image, follow that specific instruction in the real evidence workflow. Do not upload the same file repeatedly or send an identity image through chat.
Ask AI about this sectionGuided component walkthrough #
Each component has one short guided step. Read the explanation, then choose Next; Back revisits the previous component. The cursor only demonstrates useful navigation or an explicit action. Replay action repeats that demonstration, and Skip animation keeps the explanation. Use this written guide for feature details.
Main walkthrough
Applicant documents
- Applicant documents: One row per document: what the applicant provided, what the check returned and what happens next.
- Document type and state: Read each document type with its current state. Different pieces of evidence can be at different points in review; one completed item does not mean the whole identity stage is complete.
- Requested next action: Look for a request against the specific evidence item before taking action. Match the item and reason carefully, so a replacement or clarification addresses the outstanding issue.
- Check which evidence is recorded: Read the document labels and outcomes before deciding another file is needed. A document appearing in the list means evidence is recorded, not that every identity requirement has been met. This walkthrough uses sample documents and requires no upload.
- Respond to an evidence issue: If a document has an issue, read the recorded reason and next action for that document. Follow the requested correction rather than repeatedly submitting the same file. Ask for help with the check reference if the instruction is unclear; do not include identity images in a support message.
Open Review
- Open Review: The pointer has opened Review, where document outcomes feed into the application summary. Compare the evidence position with the overall workflow status; an accepted document does not itself establish a DBS result.
Where the documents land
- Where the documents land: The summary carries the evidence position alongside the declaration, which is how a reviewer reads them together.
- Compare evidence with the summary: Use the Application summary to check that the evidence position matches what you just read. If another stage is incomplete, finishing the documents stage alone will not complete the application. Keep document review separate from the final DBS outcome.
Individual walkthrough
Your identity documents
- Your identity documents: The evidence provided for your check, with the outcome recorded against each file. Sample documents mean you upload nothing.
- Document type and state: Read each document type with its current state. Different pieces of evidence can be at different points in review; one completed item does not mean the whole identity stage is complete.
- Requested next action: Look for a request against the specific evidence item before taking action. Match the item and reason carefully, so a replacement or clarification addresses the outstanding issue.
- Check which evidence is recorded: Read the document labels and outcomes before deciding another file is needed. A document appearing in the list means evidence is recorded, not that every identity requirement has been met. This walkthrough uses sample documents and requires no upload.
- Respond to an evidence issue: If a document has an issue, read the recorded reason and next action for that document. Follow the requested correction rather than repeatedly submitting the same file. Ask for help with the check reference if the instruction is unclear; do not include identity images in a support message.
Open Review
- Open Review: The pointer has opened Review, where document outcomes feed into the application summary. Compare the evidence position with the overall workflow status; an accepted document does not itself establish a DBS result.
Where the documents land
- Where the documents land: The summary carries the evidence position alongside the declaration, which is how a reviewer reads them together.
- Compare evidence with the summary: Use the Application summary to check that the evidence position matches what you just read. If another stage is incomplete, finishing the documents stage alone will not complete the application. Keep document review separate from the final DBS outcome.